
Photography: Zachary Matchett-Smith
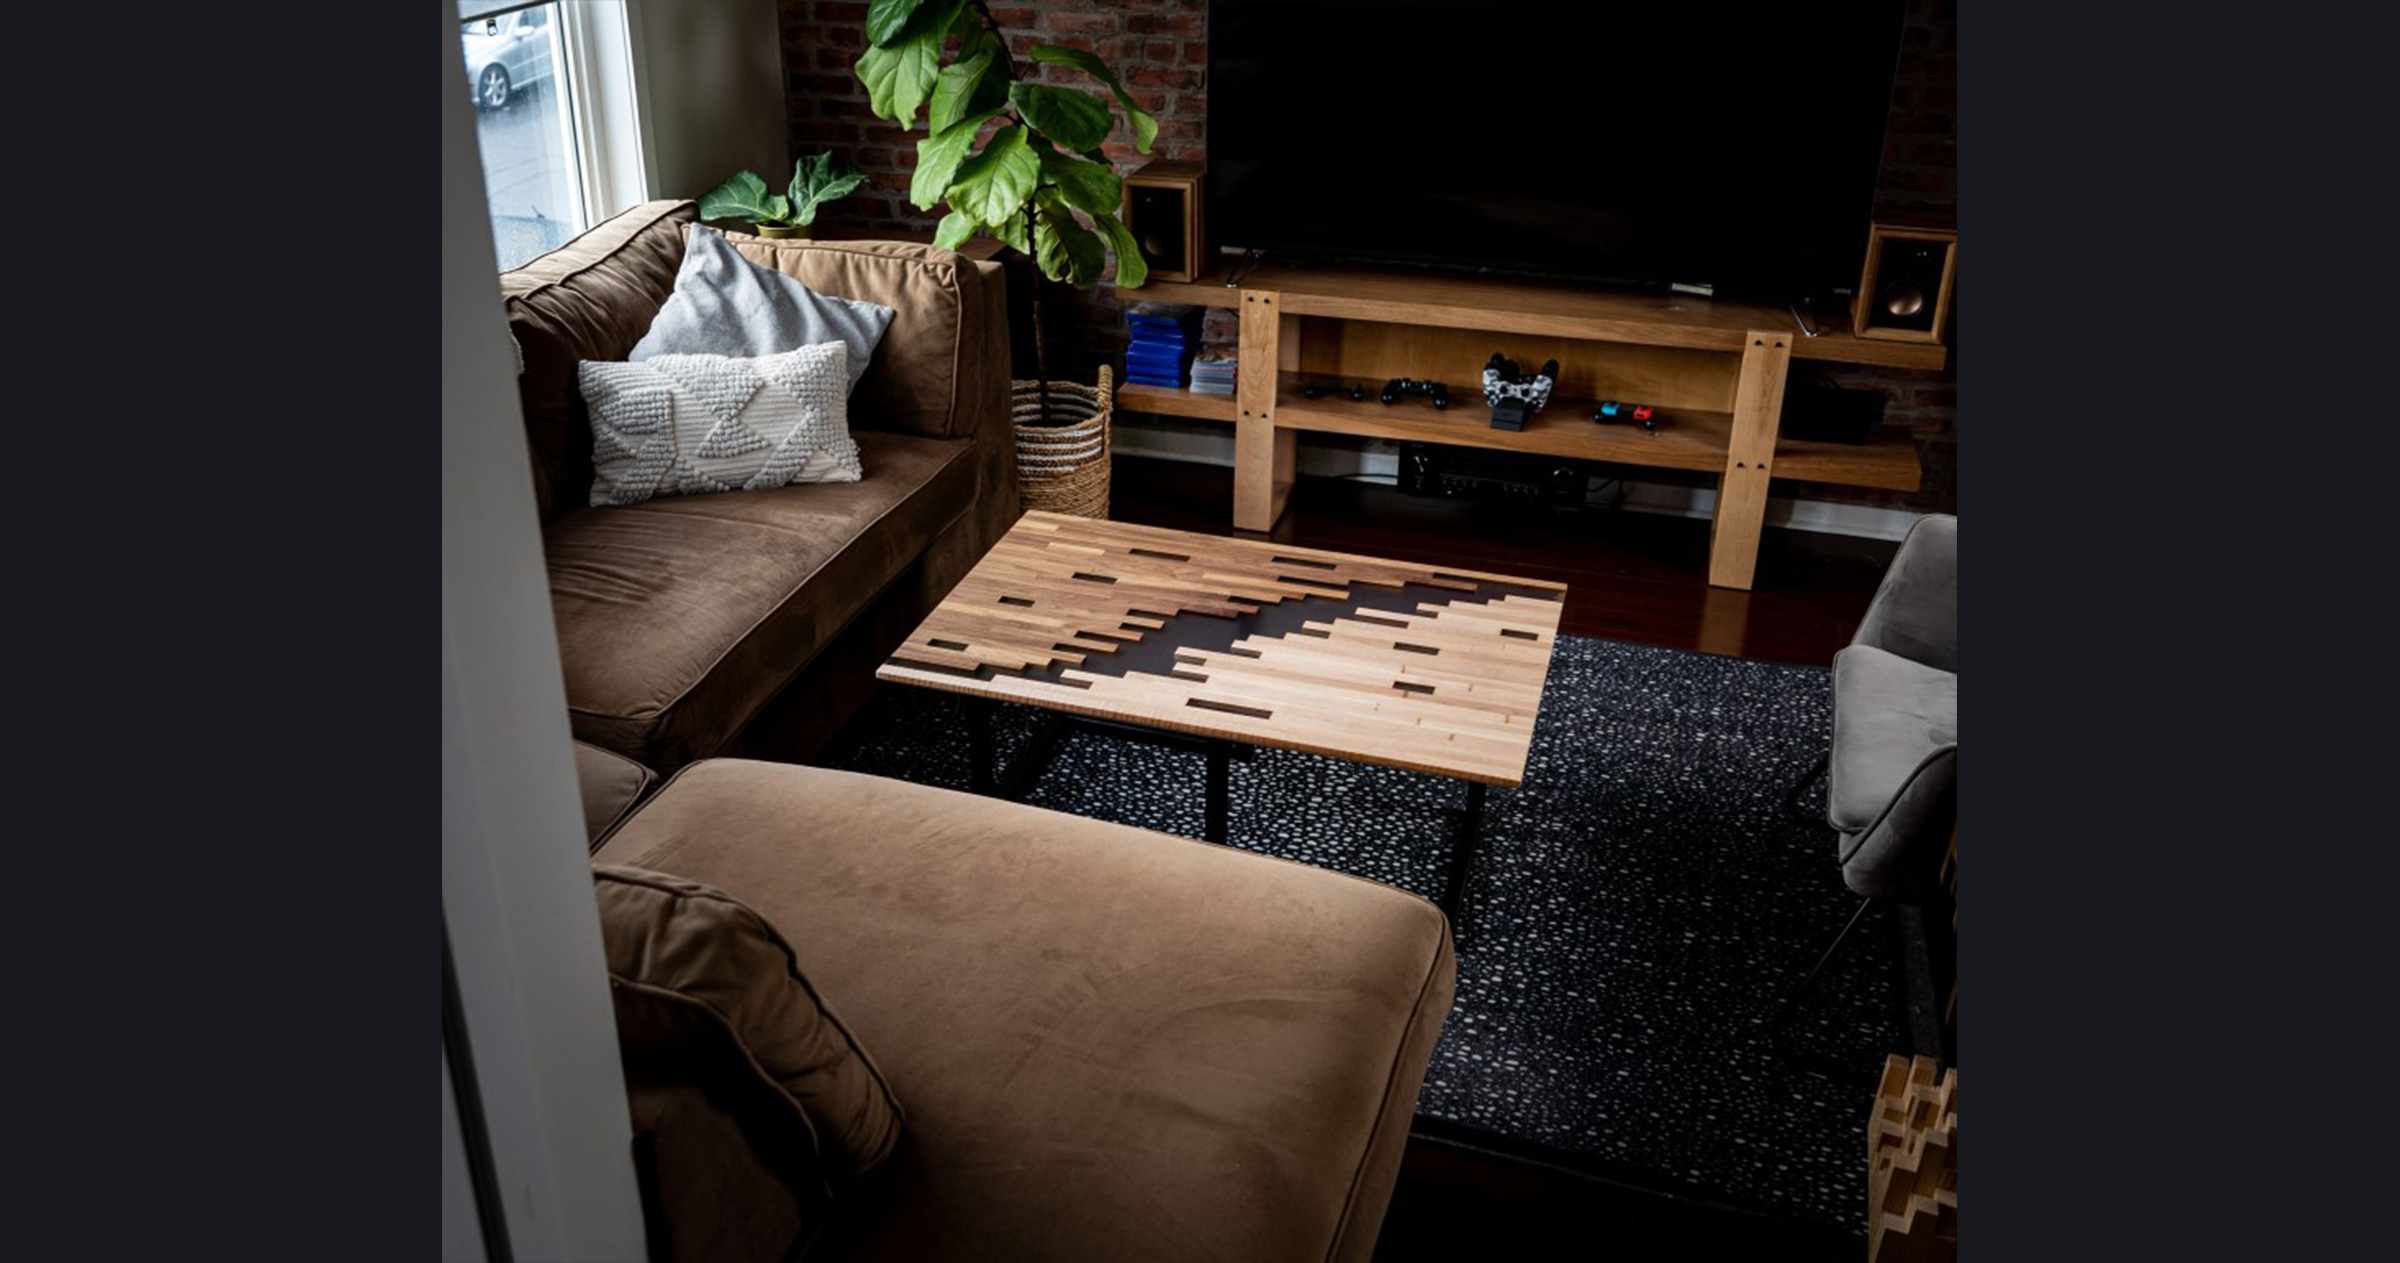
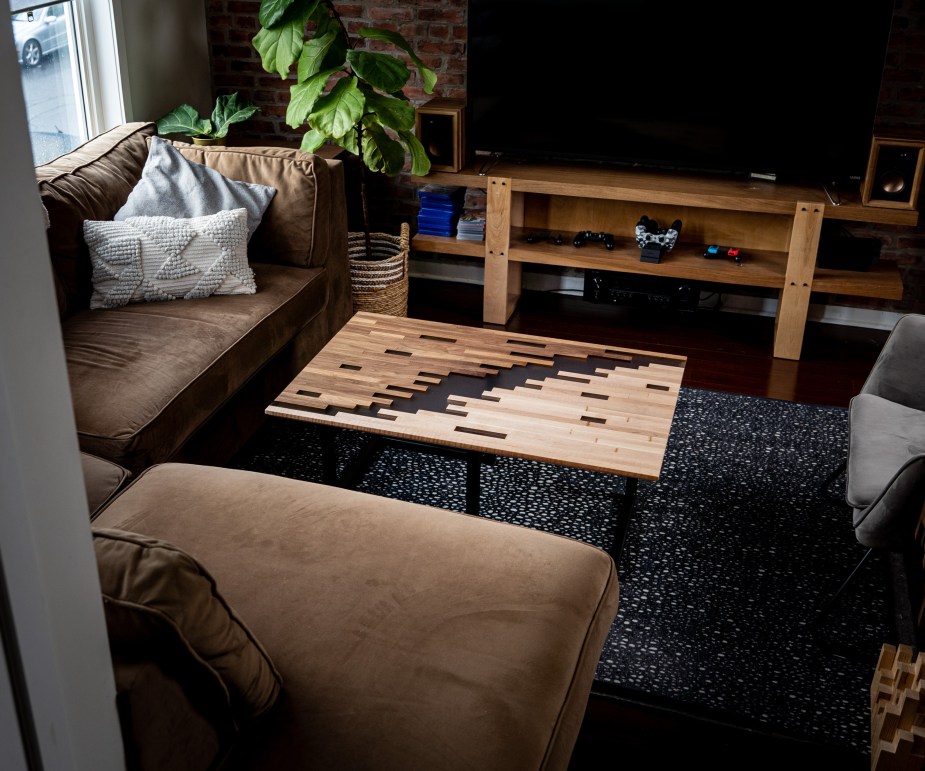
Working with epoxy can be difficult but once you get the hang of it, you can make some beautiful tabletops, such as this one from Zachary Matchett-Smith, a Toronto-based builder and carpenter who is otherwise known as Zac Builds.
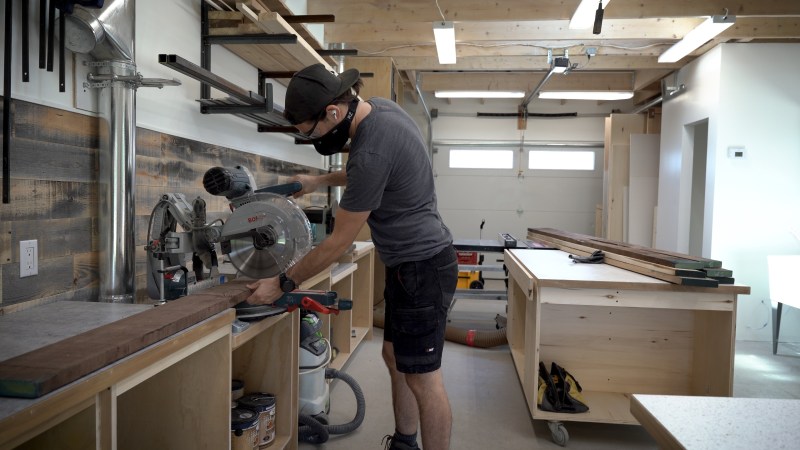
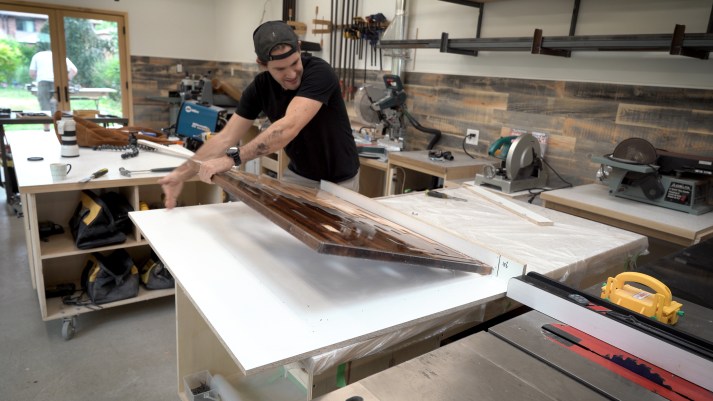
Using his table saw, Zac cut 10-foot pieces of wood into more manageable pieces measuring two and four feet long.
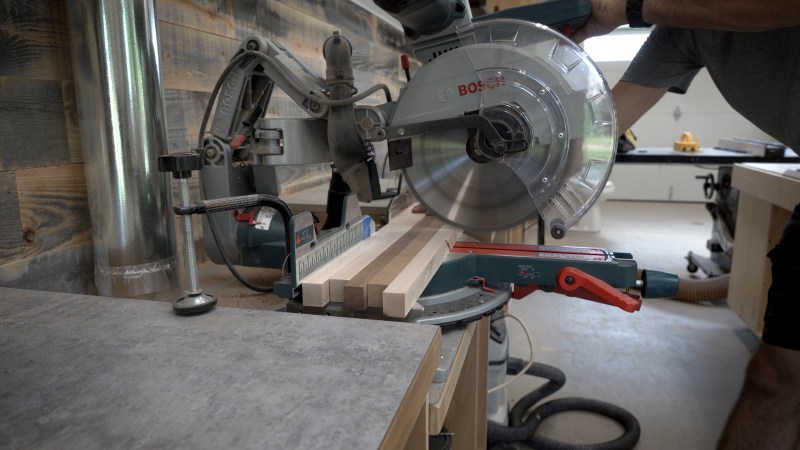
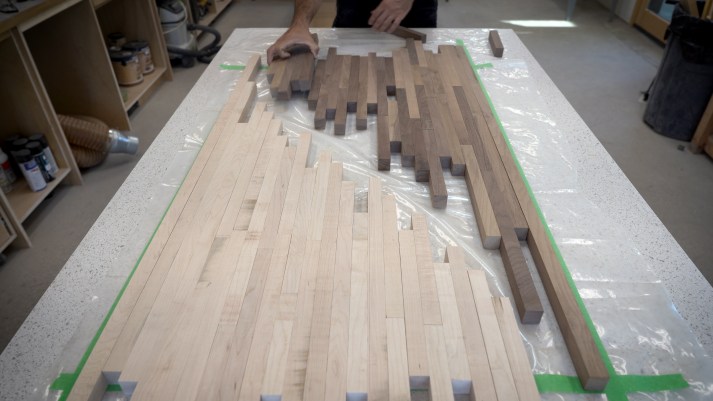
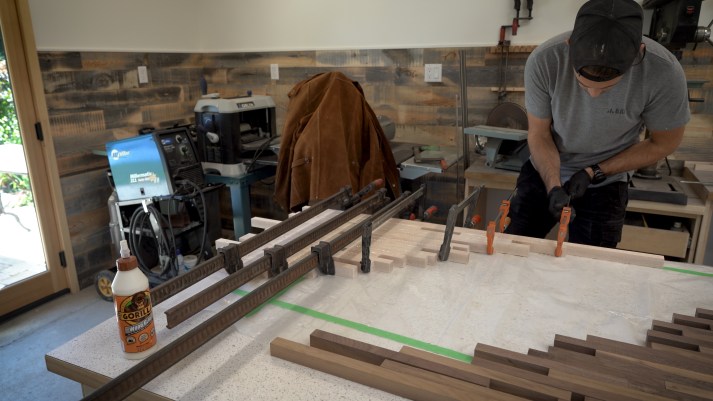
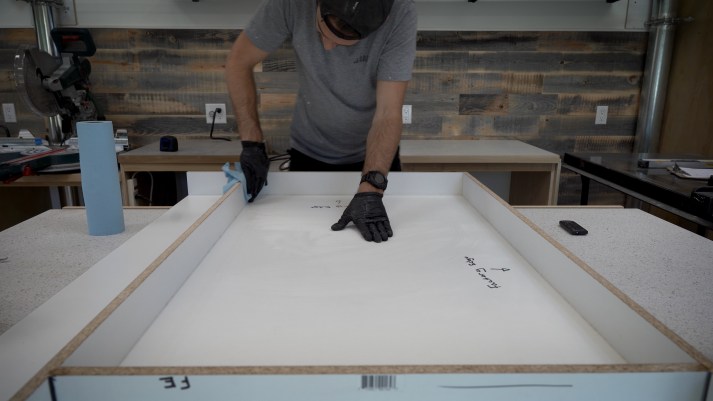
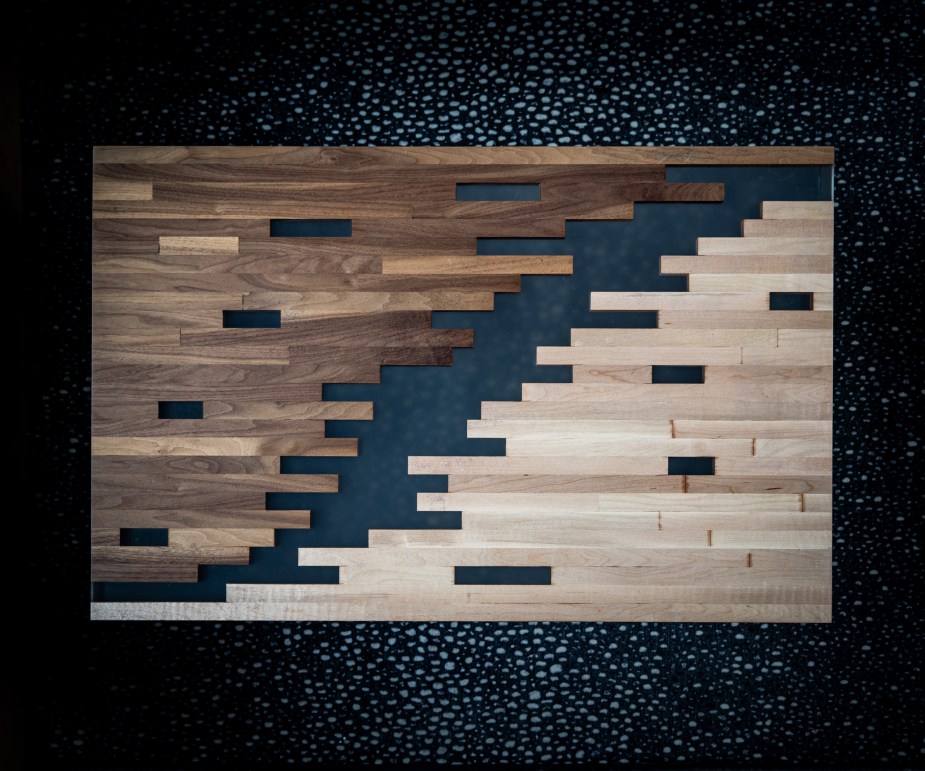
They were then cut into one-inch-wide pieces between four feet and six inches long. Pieces that had defects—checks and splits—were cut out. Zac then covered his assembly table in plastic and marked out the dimensions (26 by 41 inches) of the tabletop in green painter’s tape, which is a guide to ensure the tabletop’s right size. The blocks were placed on the table and shuffled around until a desired pattern was arranged. Note: To prevent waste, Zac advises you to create a pattern that will not involve cutting a lot of wood off after it dries.
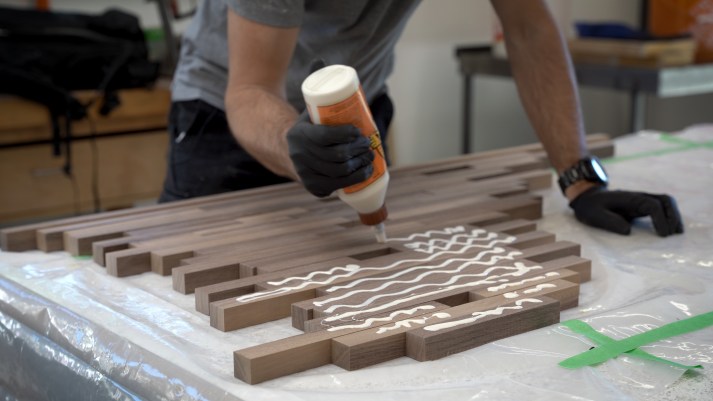
A thick bead of carpenter’s glue was placed on each block. Zac was careful not to get glue close to the edges or negative spaces. The clamps were installed and tightened until the gaps were closed, and the glue was left for 30 minutes to dry.
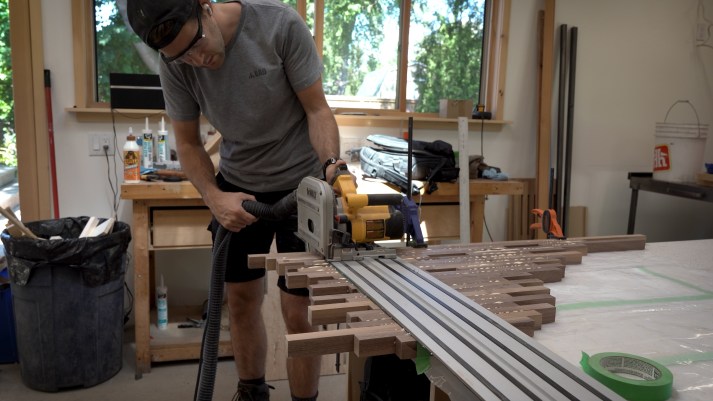
After removing the clamps, Zac sawed off excess wood at the end of each half of the tabletop (see note above).
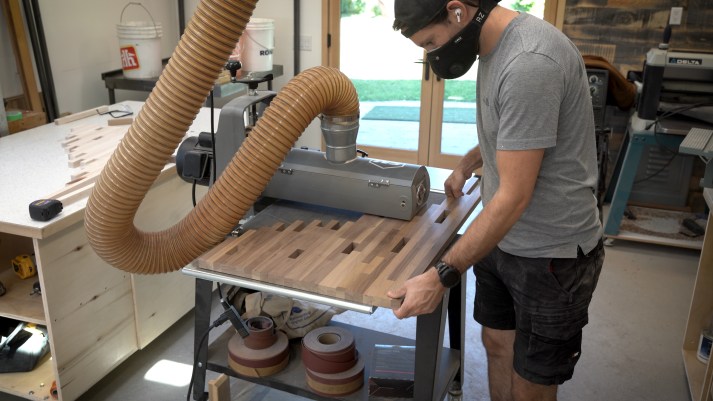
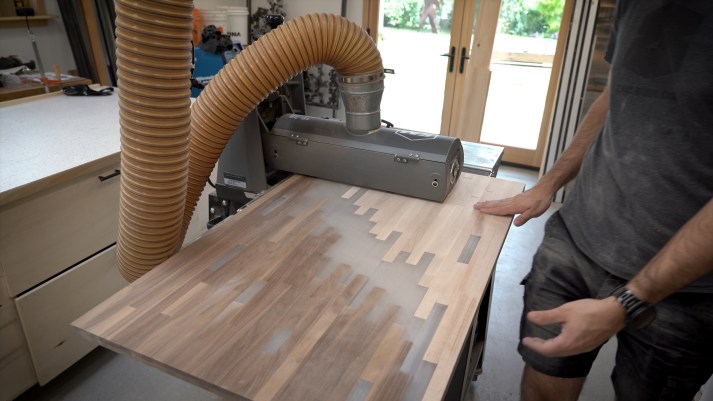
He used a drum sander to smooth both halves of the tabletop and removed glue that had squeezed out.
With both halves ready, Zac needed to build a form to contain the epoxy. He bought a four-by-eight-foot sheet of melamine at a hardware store and cut it in half. One piece would be the bottom and the other was cut into four three-by-48-inch-long strips. Those four pieces would become the walls of the form. Two of the pieces were screwed along the outside edge of the bottom piece and the remaining two pieces were screwed into place to create a form with an inside dimension of 27 by 42 inches. He took the other two pieces, cut them, and screwed them into place to create a form with the same inside dimensions.
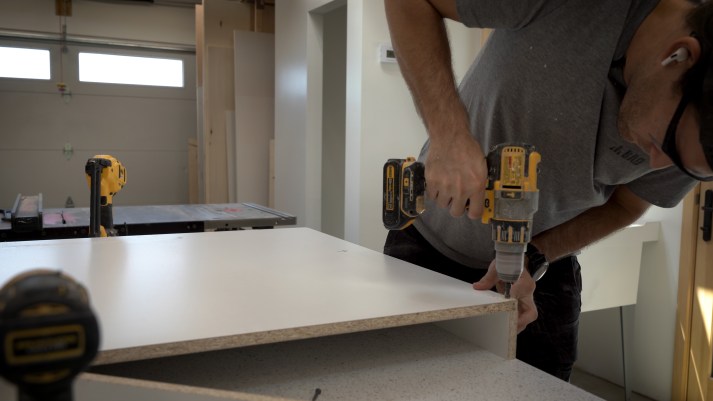
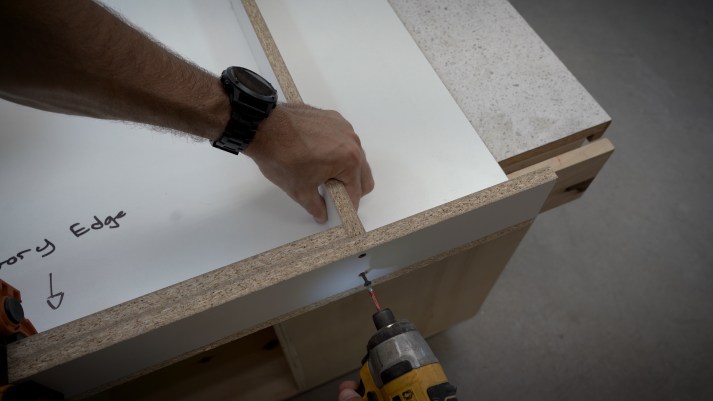
The corners were sealed with silicone caulking to prevent leaks. The base of Zac’s form is larger than his project, which will enable him to use the form for future projects that may be bigger.
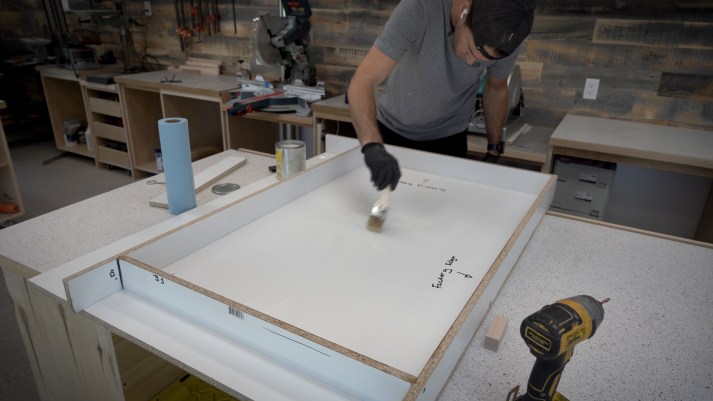
To prevent the epoxy from sticking to the melamine, the interior space was coated in Sonite Wax. After brushing it on, he let it dry for 30 minutes and buffed off the excess using shop towels.
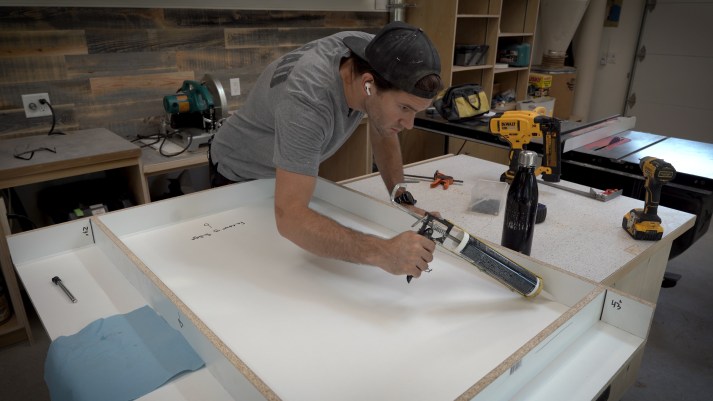
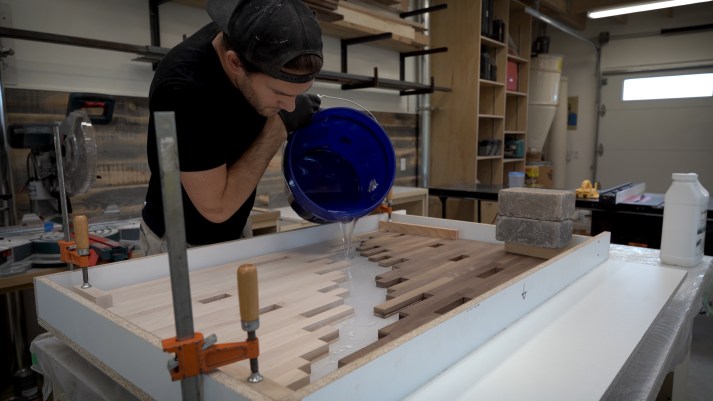
Now the table was ready for the epoxy. (For the calculation on how much epoxy to mix for a project, consult Zac’s blog post or his YouTube video cited at the end of this post). The “Flowcast” epoxy (from Ecopoxy) that Zac used consisted of two parts. Part A was mixed with part B at a two-to-one ratio.
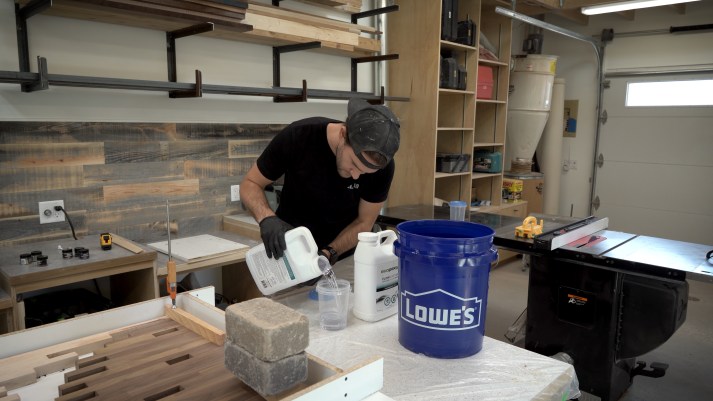
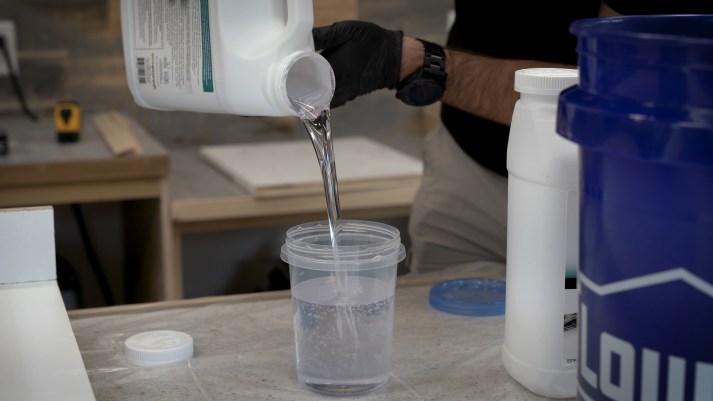
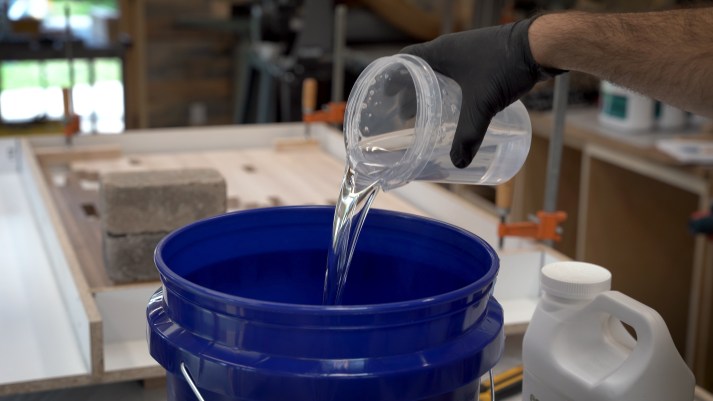
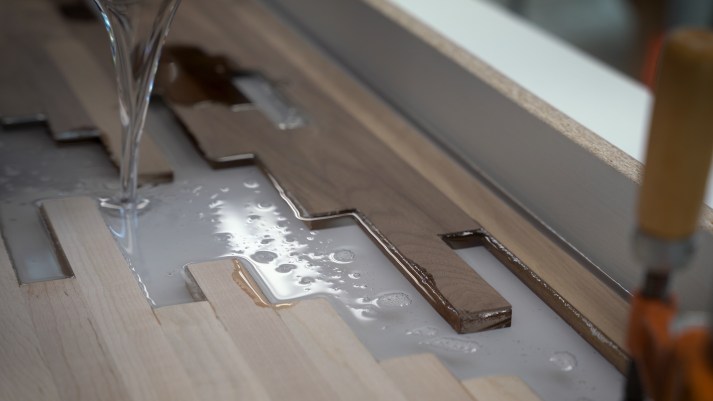
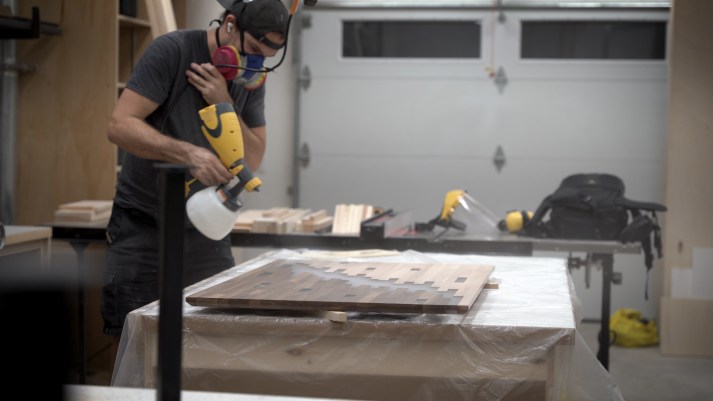
Pouring the epoxy from up high (as shown in the pictures) introduces bubbles into the mixture, which can be difficult to get rid of so try not to do this (lesson learned).
Once mixed, a quarter of the epoxy was poured into the form and allowed to settle into the voids and negative spaces. The pouring continued until the epoxy was flush with the top of the wood. This is a slow-curing epoxy so there was no need to rush.
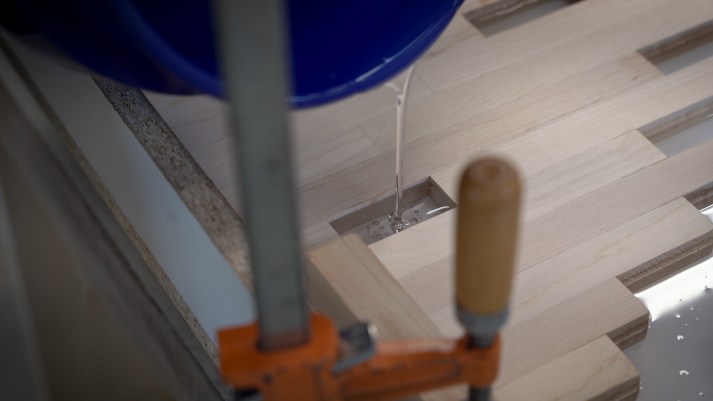
For the smaller spaces, a syringe or smaller vessel can be used to administer the epoxy so it doesn’t get all over the wood. It was left for 72 hours to cure.
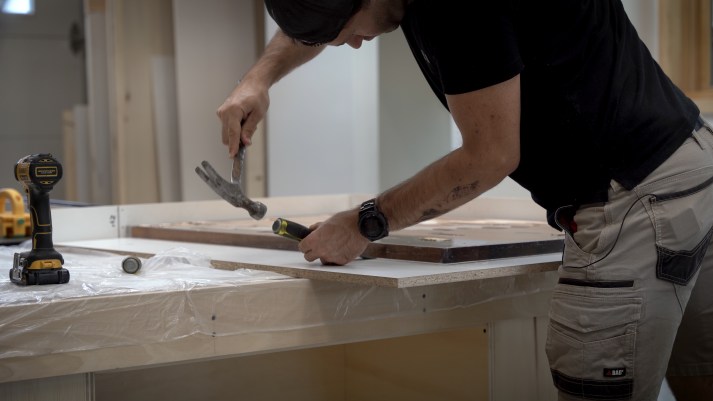
At the end of the curing process, Zac unscrewed three of the four walls and used a hammer and chisel around the perimeter to gently separate the tabletop from the form.
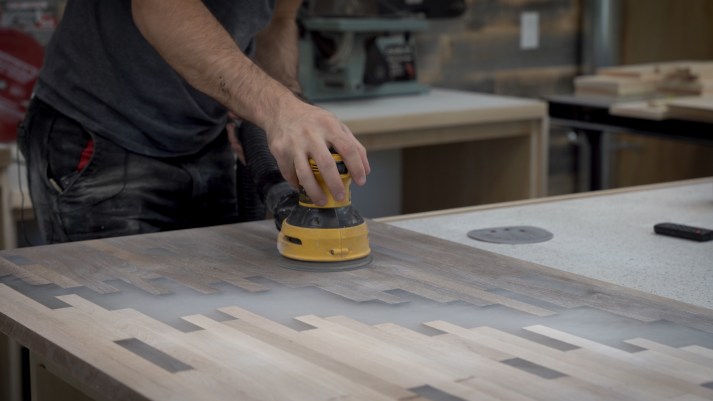
He ran the tabletop through a drum sander to remove resin from the wood. This is done repeatedly until the wood and the epoxy are flush with each other. Zac then used an orbital sander to sand the epoxy to 320 grit and then wet-sanded it up to 1,500 grit using a sanding block.

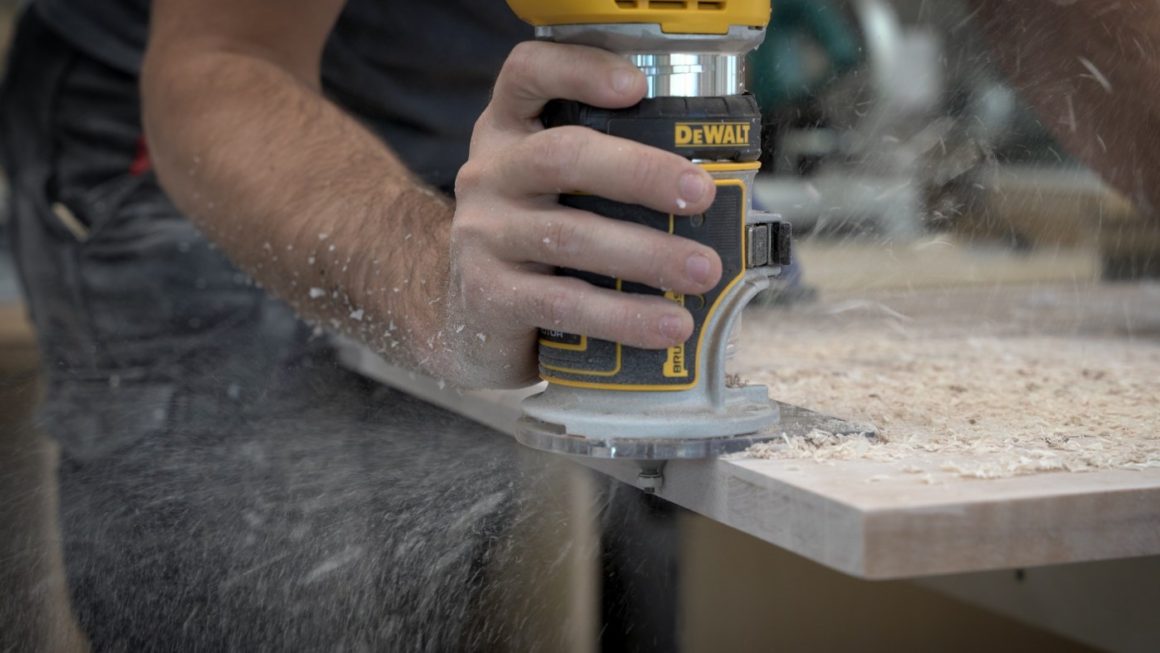
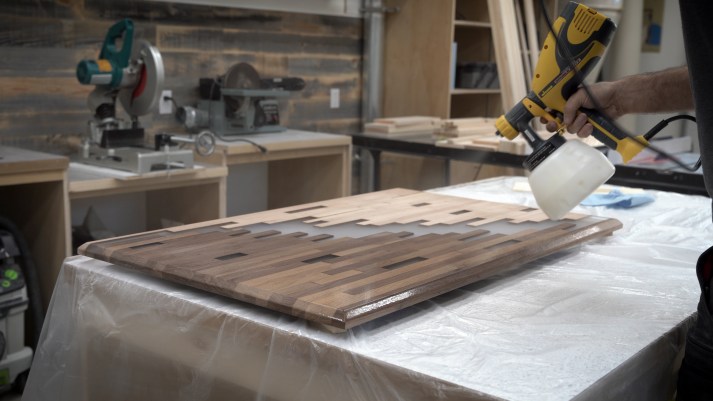
He loaded a chamfer bit into his cordless trim router and cut a 45-degree angled reveal on the bottom side of the table. Now the table was ready for the finish. The finish Zac used for this project is called Saman Stain Hybrid Satin Floor Varnish and is also a Canadian company.
Spraying can take practice but is the practical way of finishing a large surface. Zac diluted the varnish with water (30 per cent) and sprayed the clear finish in thick coats. Doing this prolongs the drying time but gives a better result.
The tabletop is dried for 72 hours before being mounted on legs. •
For the complete post for this table, visit Zac’s YouTube channel YouTube.com/ZacBuilds or his blog post here.
You can also check out Zac’s work on Instagram @zacbuilds.
Ecopoxy is a Canadian company located in Manitoba www.ecopoxy.com
Saman Stain Hybrid Satin Floor Varnish and is available at Home depot and Rona stores.


